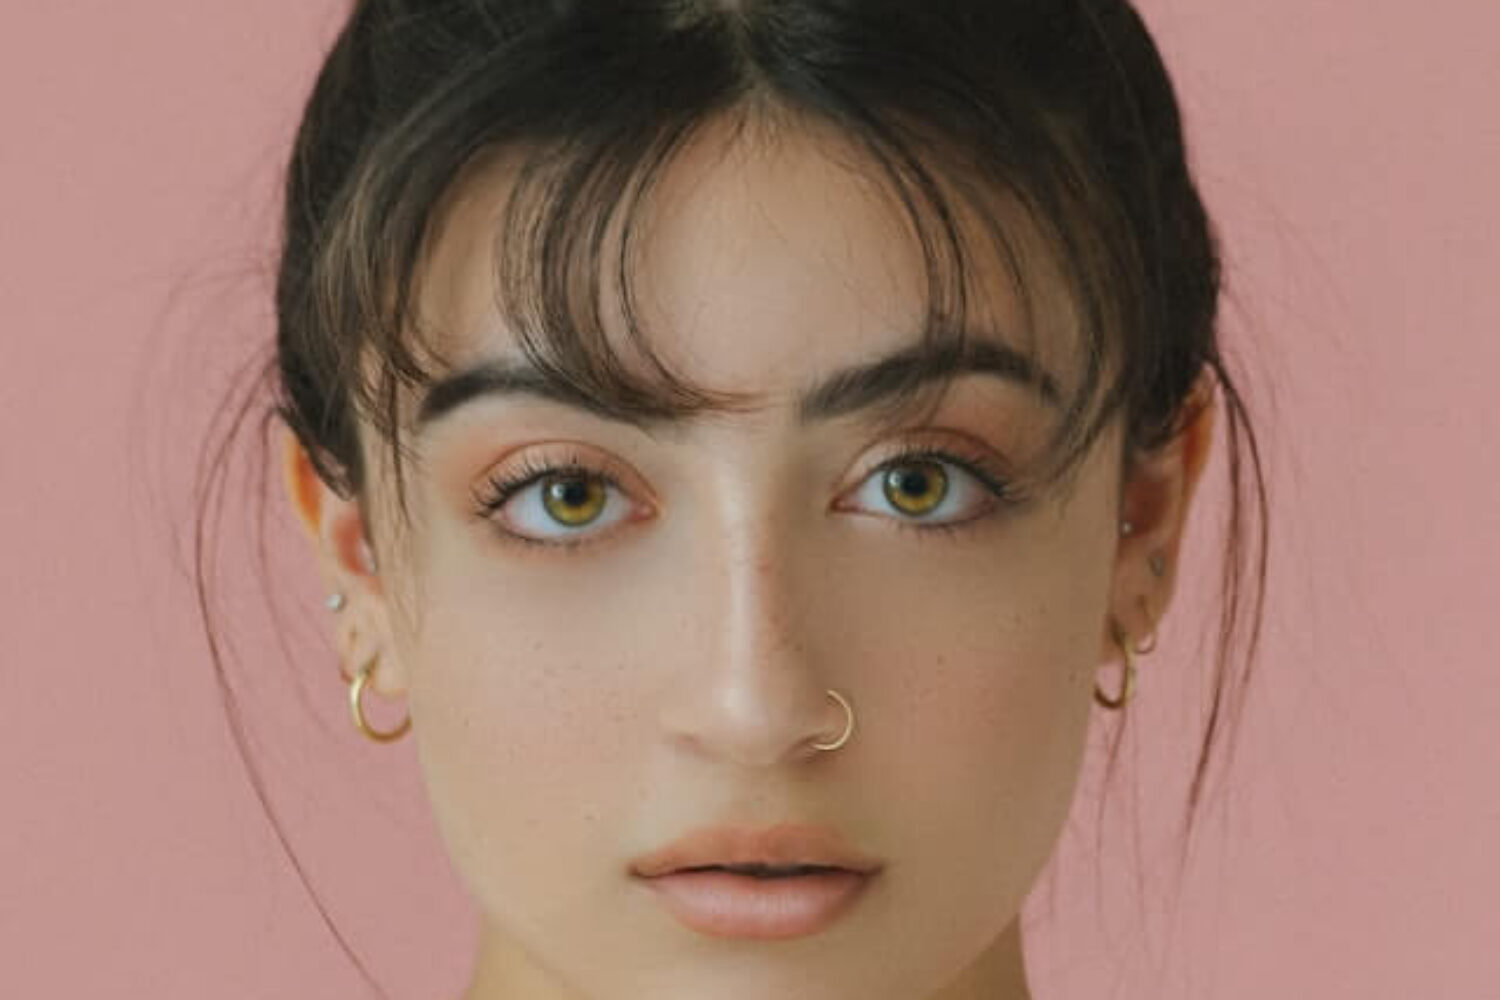
Photoshop portrait editing is an artistic process. It can be gratifying and enjoyable and allows you to capture the photo and then make a picture that draws viewers’ attention. Like all genres of photography, each portrait is unique, with a wide range of variations dependent on everything from background and lighting to the tone of the subject’s skin.
Like all things, Photoshop portrait editing is an exercise, and this guide will give you seven guidelines to help you start on your way towards becoming an expert at photo editing by using Adobe Lightroom.
Import your portrait
Start Lightroom on your computer, and choose from the Library module. After that, click Import. Then, go into the Source panel and locate the folder with all of your photos. Choose this folder; if your folder comprises subfolders, select Include Subfolders. In this way, you’ll be able to see thumbnails of your photos before you begin portrait editing in Lightroom. Be sure to use the Add option, not Copy. In the event of a mistake, you could create duplicates.
Correct the White Balance

Have you had the experience of looking at some of your pictures taken in sunny conditions and wondered that it was a blue hue? Despite the advances in digital cameras, they cannot compete with your eyes. When you look at anything in your view, the eyes adjust automatically to ensure that you can see clearly in natural colors.
The problem with Photoshop portrait editing is that a digital camera can’t achieve this, so your photos often must be adjusted to capture the scene exactly as you see it.
Make adjustments in post-production
For instance, if you’re photographing in controlled conditions, like an office where the lighting will be the same, you could alter the white Balance manually. However, when you’re in the open, the process may not be effective and result in missing the crucial moment. You can, however, alter your White Balance in Lightroom to create a more natural appearance.
Find your color
 In Photoshop portrait editing, one method is decolorizing the skin by decreasing the saturation for the entire image. This technique is particularly effective on male models.
If you do not want to completely alter the image, open the Lightroom HSL panel, select saturation, and then use the color selector (the tiny circle in the upper left corner of the window) to click on the skin area drag it downwards. You’ll notice how you will see that the Red or Orange sliders slide toward the left.
Adjust the Vibrance and Saturation
These handy instruments for portrait editing in Lightroom can make your photos stand out by increasing the color. The amount and frequency you use these sliders, the Vibrance or Saturation sliders, will be contingent upon your tastes, preferences, or subject matter and the quantity of the image required.
For instance, it is possible to enhance the hue to give your photograph the wow effect in shots of sunsets. For portraits of people, however, they could only require a slight increase. Slide the sliders until you have the desired result. Be careful not to go overboard, as too much saturation can cause the image to appear fake.
Softening the skin
 Sometimes, the skin of your couple may appear sharper or have an unnatural appearance in your photos. It’s easy to soften it to give it an appearance of a smoother surface in Lightroom. Select the brush tool, and make any adjustments you like. For instance, you can bring the Clarity slider down from between -35 and 40. The smaller the Clarity is, the softer the subject’s skin appears. To create a dark-looking look, raise the Clarity slider and then alter the highlights to around +15.
Clarity can be altered via the Presence section of the Basic panel. It will be added to the overall photo (global adjustments). Alongside Clarity and Texture, the Texture slider can be very helpful in softening the skin. It is an adjustment for the entire image or local use, similarly to that of the Clarity slider. We suggest applying a negative Texture adjustment over the negative Clarity adjustment to help smooth skin tone while Photoshop portrait editing.
Straighten and Crop
If you make no changes to a photograph in portrait editing in Lightroom, the only thing you must make sure of is that it is straight. This is particularly evident in images with a horizontal or vertical line, such as the horizontal horizon in the landscape. Also, you should try for photos of buildings that have converging lines (where the building appears as if it’s crumbling).
The most recent version, Lightroom (Classic Lightroom CC), offers an excellent Auto option to straighten up your image and fix any uprights. Sometimes, it requires manual adjustment or tweaking; however, it’s a good option in most instances.
Finish the adjustments
The Show Selected Mask Overlay box is located beneath the image and can be used to fine-tune your edits. This will let you identify all the changes you’ve made using your brush. Also, you can hit the O key, too. You can use the erase brush tool if you feel like you did not make the right changes to the eyes or the mouth. You can do this while using your Adjustment Brush. The tool can stop any changes that you do not want.
Conclusion
You may spend longer in Photoshop portrait editing than with other kinds of images, which is expected considering the sheer number of tiny details that require adjustment. Since Lightroom’s workflow isn’t destructive, it allows you to keep improving your portrait image until you feel it is perfect or creates Virtual Copies to experiment with different variations.
You now have some suggestions and tricks on portrait editing in Lightroom. The only thing needed is to get out and test it out. This guide should provide you with the foundation you need – don’t hesitate to let us know how you’re doing in progress or ask questions you have if you are stuck.
If you want a more in-depth training check out the options from Udemy for Lightroom.
We also offer a full portrait editing service for headshots, weddings, and portraits. Contact us for more info.