Many defects and distracting elements can be removed during post-processing, making it easier to produce appealing photographs. If you took a picture and noticed a large flash obscuring the primary subject afterwards, don’t be disheartened. In this article, you’ll discover how to remove flashspots from your photos. The process is illustrated with screenshots, so you will undoubtedly comprehend it.
On the other hand, when you shoot a picture, glare can come up, and it can be quite annoying. Sometimes, a glare is part of an image’s artistic composition, so removing it would ruin the image’s unique look. Make a decision based on your assessment of the image.
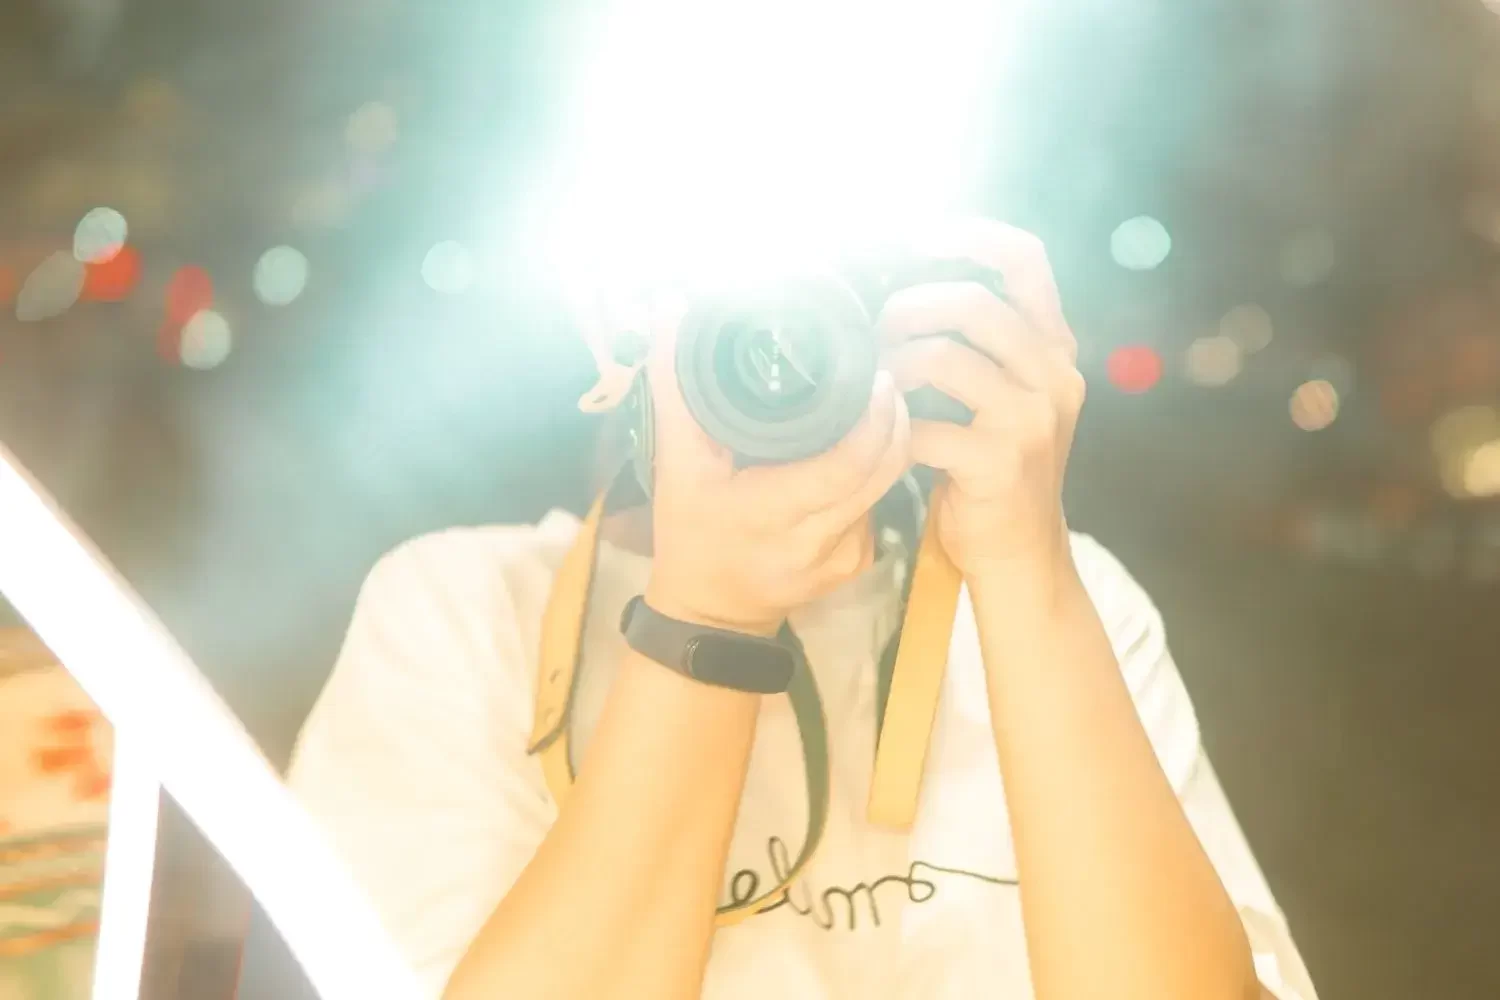
What Causes Flashspots in Photos?
Flash glare, also called lens flare, occurs when light bounces around inside the camera before reaching the camera sensor. In other words, this stray light that does not follow the camera lens’ (nor the photographer’s) intended path does not produce an image. Wide-angle and zoom lenses, which have multiple lens components in addition to prime lens (single focal length lenses), are more prone to lens glares.
Simply put, those lenses have more opportunities for light to scatter. Sunlight is common lens flare. When shooting directly at the sun, glare is a typical occurrence. Even if the camera is not pointing directly at the sun, some of the sunlight may enter the lens at sharp angles.
The Advantages of Flashspots
Unless the main subject is obscured by a lens flare, you should delete it. If you want cinematized pictures and there is glare in the source picture, you should keep it as is. In fact, some photographers and videographers even add such an effect during post-production.

That is to say, there are a few upsides to glare, whether it’s seen as bad or good. It can be the extra element that turns a regular photograph into a more memorable one for people who want a more artistic or edgy look. Flash glare has a lot of potential and may draw people’s attention, if that’s what you want. You can also establish a photography style that’s unique to you. For example, if you are photographing in the woods in the early morning or late at night, when the sun is low in the sky, the trees will cast a starburst of light. It can add an interesting element to the picture. Similarly, photographing light as it rises above the horizon is another excellent way to enhance an image.

Method 1. Remove Flashspots with Lasso Tool
There is a sure way to figure out how to remove glare from photos without doing manual adjustments. However, keep in mind that this approach works best for photographs with consistent colors and patterns. Content-aware in Adobe Photoshop is used to automate the process in order to benefit from it.
STEP 1. Open Your Picture with Flash

Upload an image you want to improve to the program. Do it by clicking the Open button or using Ctrl + O combination.
STEP 2. Choose the Lasso Tool

The Lasso Tool is accessible through the menu or by pressing Ctrl + L. The Lasso Tool allows users to remove glare from photos in Photoshop in a quick and simple fashion. You can use this tool to zap a selection by drawing around it.
STEP 3. Highlight the Flashed Spot

Select the Lasso Tool and make a selection around the spot. Then click Fill on the right-hand side of the selection.
STEP 4. Use the Content-Aware Option

A new window will appear. From the “Contents” section, select “Content-Aware.” You should do the same for all spots you’ve chosen. If you’re just starting out and want to remove light streaks from photos, we recommend hiring professionals.
They will not only fix such a defect but will also make all the necessary improvements.
Method 2: Dehaze Image in Camera RAW
In case your pictures look hazy because of a lens flare, it is better to use a special Dehaze feature in Camera Raw.
STEP 1. Click Filter at the Top Menu

You will see a Filter menu and can choose Camera Raw Filter there.
STEP 2. Work with Dehaze Slider

A new window will appear with different sliders. You must use the Dehaze slider. Move it to the left or right until you get the ideal result. You may adjust other variables as well.
Method 3. Paint Glare Away with the Clone Stamp Tool
Photographers frequently use the Clone Stamp tool to remove bright spots and large areas. Lens flare can also be removed using this tool. Source points are used to conceal the glare, since they are non-glare areas.
STEP 1. Choose the Stamp Tool

Zoom in on a bright area using the Zoom Tool to see the finest details. Then, use the Clone Stamp tool.
STEP 2. Press and Hold the Alt/Option
By pressing and holding Alt/Option on the keyboard, you change the cursor icon. It is necessary for choosing glare-free spots. Click on the spot and release the key.
STEP 3. Paint over the Glare

You can clearly see what you will paint over by observing the Clone Stamp cursor circle. This also applies if you want to remove objects in Photoshop. Select Window from the upper menu and choose Clone Source if not. Check “Show Overlay” in the new window. If not, paint over the glare and make any necessary adjustments.