Shooting the Interiors in Real Estate Photography
While architectural photography and real estate photography are both similar in theory, shooting the interiors in a real estate property is different. We entice prospective buyers to meet with real estate agents by using professional photos and presentations. The listing that is chosen is most likely to be the one with the most impressive photographs and presentation. Because of this, as photographers, we need to look at the home through the eyes of potential buyers and not as an artistic project.
Real Estate Photography Essentials
- A full frame Camera is preferable, but not essential
- Lenses: You’ll want a fairly wide-angle lens, but not so wide that you noticeably distort the image.
- A stable and secure Tripod
- Triggers: 1. shutter release to avoid camera movement; 2. to trigger the flash(es)
- One or two Speedlights will do
- Shoot only in RAW
- Do not use flash
- Do not use zoom
- Use HDR setting (High Dynamic Range) if possible
- Choose the focal length between 16mm and 24mm.
How to Shoot the Interiors
(Read first: GUIDE TO INTERIOR PHOTOGRAPHY: 9 TIPS FOR SHOOTING INTERIORS)
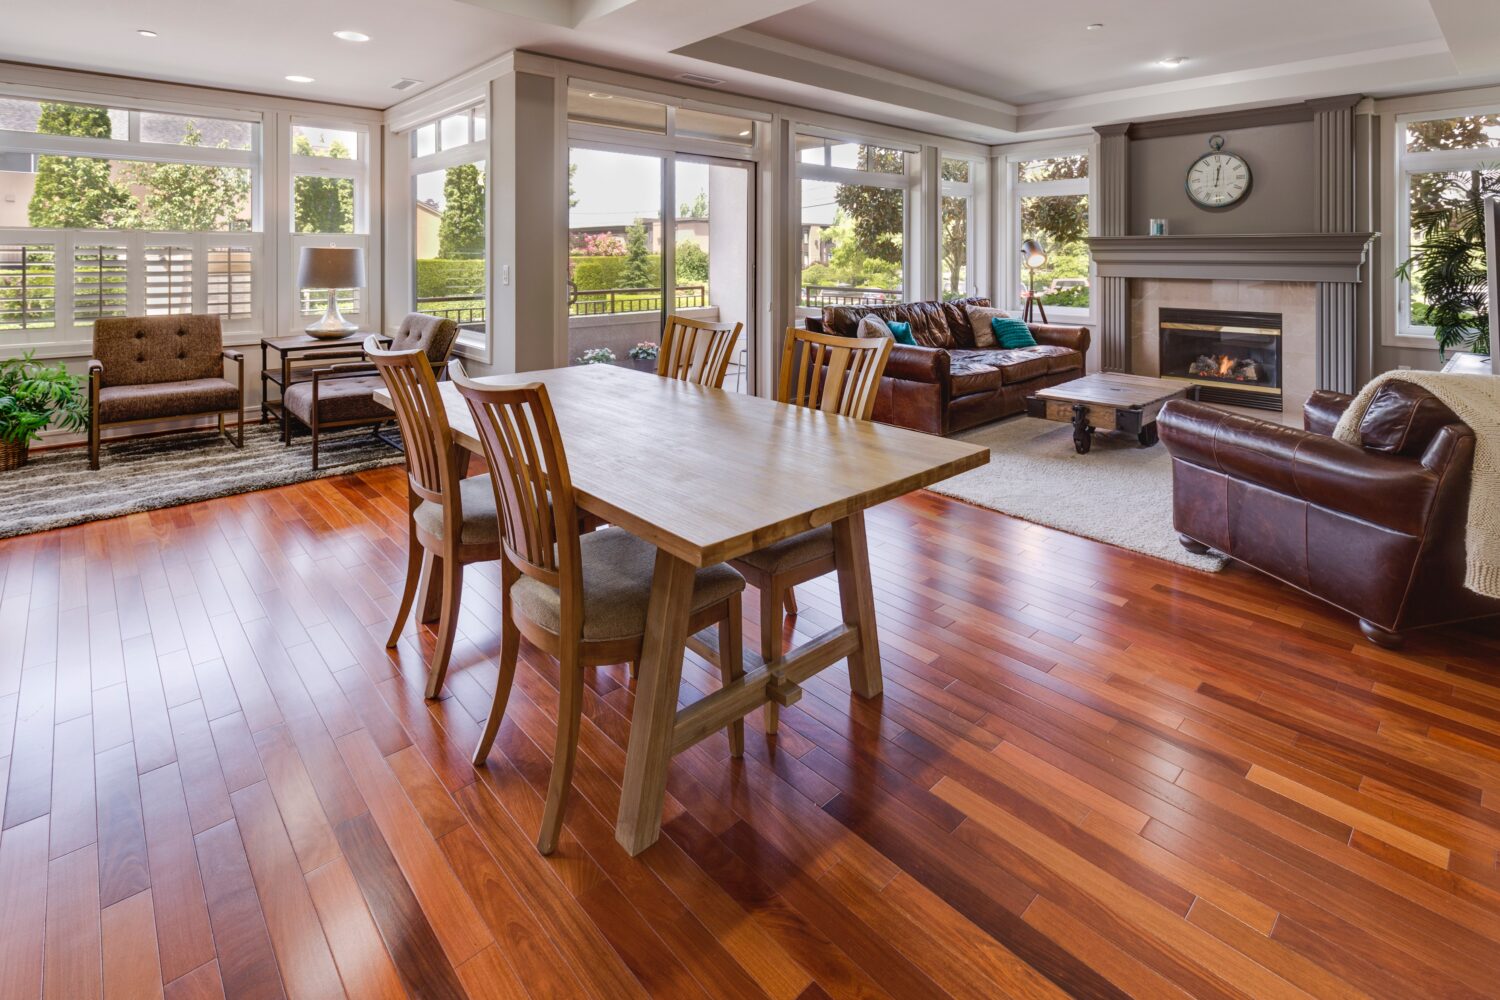
You will generally want to follow the two-wall rule, the size of the room is ambiguous in the two wall shot because the viewer doesn’t see the whole room or have a reference for its dimensions. Three wall shots usually make rooms seem smaller because they give a reference for the room’s size.

The primary technical challenge is to create an image with a broad depth of field, ensuring that the foreground and background are both in focus. Increasing the shutter speed will produce a crisper picture, but will make it darker. Instead of boosting the ISO, you should lengthen the shutter speed to compensate for the exposure. Because prolonged exposures record camera movement, pictures may not be taken handheld with them. To prevent image blurring, use a tripod.
Shoot in aperture priority mode, and your camera will select the correct shutter speed to ensure proper exposure. Focus on the interior of the room to assist the camera in making the correct calculations. Using the flash to fill in the shadows is a good idea when you shoot with natural light streaming through the window and exposing the room properly. To capture the beautiful vista outside the window and make everything look right, you may also want to photograph it. First, photograph the vista using a normal exposure, then use flash to match the exposure. Point the flash straight up at the ceiling to light up the room. Make a series of panoramic shots revealing the layout and the overall design as well as close-ups which you want to highlight.
You’ll Want to Use Wide-Angle for Real Estate Photography
Wide-angle lens shots are the most important type of photography for real estate agents. These photos are intended to show a room in its entirety, providing context and definition. A standard photo shoot might be difficult due to the wide lens (18mm is optimal), but you must not distort the photo, keep lines straight, and distribute light correctly. It can be tough to maintain a photo without distorting it, focusing on not distorting shots, maintaining straight lines, and distributing light correctly. A photo shot at F9-F11 and using the lowest ISO possible will make sure that the entire room is in focus. You’ll need to use a tripod since your speed will be slower!
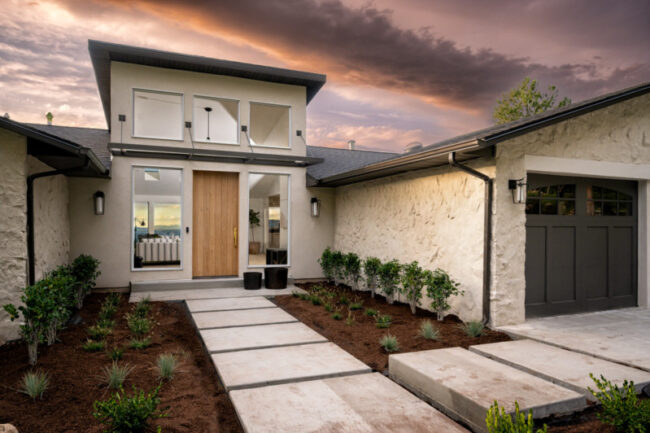
Time Your Real Estate Shoot Well
The best time to shoot is either in the early morning or late afternoon, when the exterior lighting matches the interior lighting. It’s preferable to shoot in the summer season between 7 and 11 a.m. or between 4 and 7 p.m. if the windows look out on the sunny side of the house. The time to shoot during cloudy weather is between 11 a.m. and 7 p.m., as this tends to produce softer-looking images and less-dramatic shadows (resulting in fewer white and black spots). Avoid shooting when the sun is shining directly in the window, or pictures will become overexposed and have higher contrast.
Lighting the Interiors for Your Shoot
Rather than relying on artificial light, focus on capturing as much natural light as possible. Before shooting a house, plot its structure to ensure that you can photograph each room at the perfect time. Your goal is to communicate the significance of the light source’s position. For example, there may be a room in the house where the light is set to warm, or an aquarium that is illuminated with cold light. Turn those lights on and show them. However, do not mix hot and cold light colors. If two light sources of different color temperatures are mixed, it is better to use only one of them.
There is no way to recreate the liveliness of an interior space using artificial light, and natural light is a wonderful example. If you attempt to photograph an interior room, the windows will be overexposed. On the other hand, if you attempt to photograph a room, the windows will be underexposed. You may wonder how you can take pictures like the one above, in which both the room and the view are well exposed. To address this issue, bracket your photographs and combine them together. The process, as illustrated in the video, is to shoot several pictures with varying exposure levels using your camera’s automatic exposure bracketing feature. Then, combine the photos together using a post-processing application such as Photomatix to create an adequately exposed photograph. That’s all there is to it!
Camera Settings
When you are just starting out or taking a new type of picture, priority aperture mode is a good starting point. You can use AV-A mode on your camera to choose the aperture based on the available light sources; you just need to set the aperture. To set the white balance, you should set it to 5000k, which is the most neutral temperature. If you want your images to be warmer or colder, you must set the temperature manually. You must use an aperture between F9 and F11 if you are shooting wide interior shots. A shallower depth of field can be used to create the right mood for medium and detail images.
Shoot with High Dynamic Range (HDR)
The majority of real estate photographers begin by shooting HDR or High Dynamic Range images. You set up a series of photographs- one for the windows, one for the room, and one for the darks- and then combine the best parts of each in order to create a final image. Lightroom comes with this functionality out of the box, and there are add-ons (Enfuse, Photomatix, and Aurora) for additional finesse and control over blending in Lightroom and Photoshop. The main advantage here is the speed, as you can shoot a 2000 sq ft home in 20 minutes if you’re fast and know your stuff. The HDR technique works well in some cases, and well in most. However, color accuracy is the most important consideration. Color reproduction is enhanced by the color of the light in the scene.
Framing
Make sure that all the lines in your picture are parallel by holding your camera straight and at your chest level. Minimize distortion by keeping your camera level and upright. Horizontal shots are the norm for real estate photography, but some circumstances require vertical shots. You may choose to photograph vertically when you need to illustrate how one level connects to the next, when a room is too narrow, or when you want to point out specific elements. Shooting from the corners of a room will make it look as large as possible and make the room appear larger in the picture, particularly for little rooms. You may also create this effect by shooting from the door. Make sure that at least three walls are included in the photo.
Attempt to place interesting objects on various planes in the frame. Make sure there are items in the foreground, middle, and back of the picture. This will improve the image’s visual depth and richness. Make sure to photograph transitions from one locale to another in one image – from the kitchen to the living room or the bedroom to the bathroom, for example. Such pictures look more engaging and help us see how the rooms are connected. Shoot from various perspectives to reveal the rooms’ true magnitude.
Typical Camera Height Level for Shooting Interiors
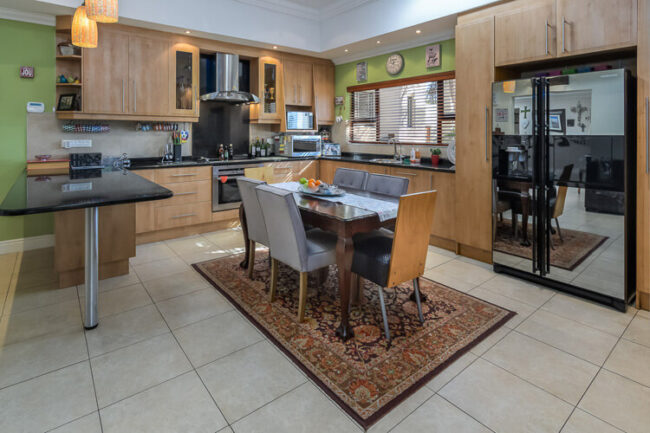
Kitchen
You should be able to see the counters’ tops, not just their edges.
However, tilt-shift lenses can be helpful here so you don’t show
too much ceiling, they are expensive and not necessary unless you
already have one.
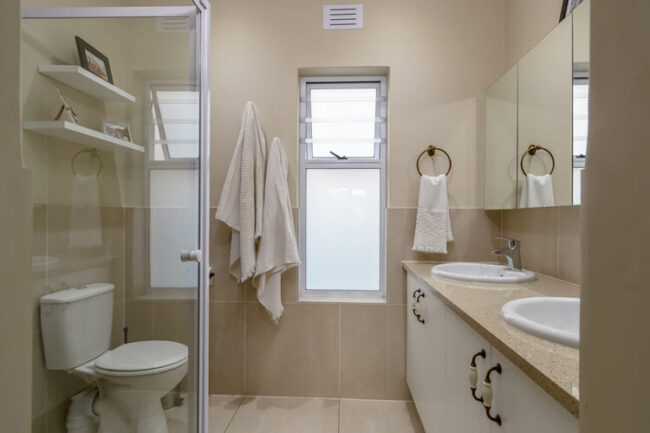
Bathroom
Just above counter/sink height
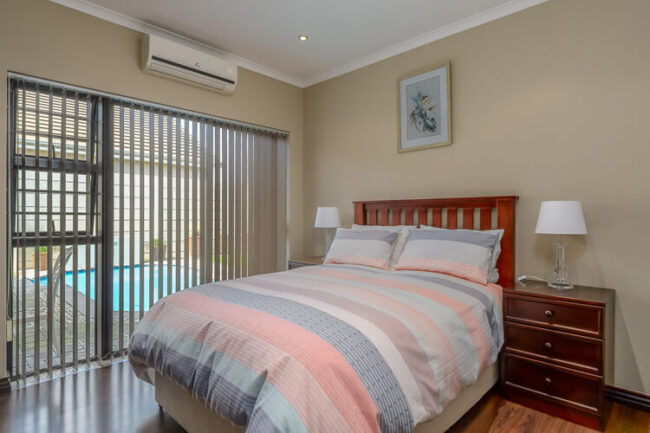
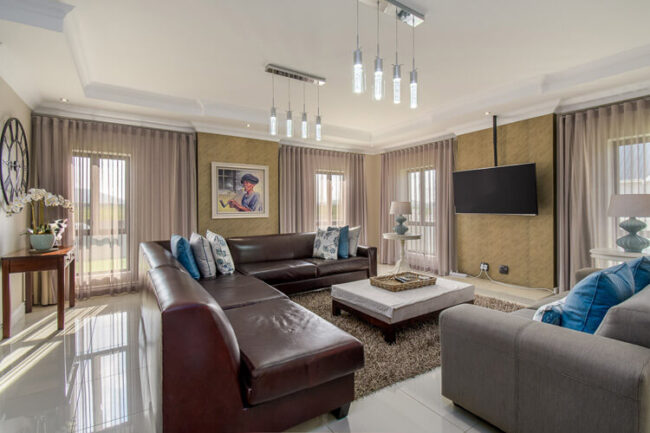
Bedroom & Livingroom
A little higher than the bed, slightly above waist level
Medium interior shots
In addition to wide-angle photographs, medium shots are critical for creating a comprehensive picture of an apartment or home. For vacationers who want to create that Instagram-worthy photograph, these shots are particularly important. What kind of amenities can you photograph? Is there a jacuzzi in the restroom? Does the gym have an exercise bike? Is there a gas range stove? Anything that enhances the pictures but may have been missed can be photographed with your 28-35mm lens. The image will seem more personal than it does with your wide-angle shots.
Detail interior shots
Creating a detail photo that frames properly will require the most creativity. Try to capture the spirit of a location by shooting with a shallow depth of field and experimenting with freehand photography. The Bed and Breakfast or hotel brochure will likely not feature these photos, however they will assist in their marketing if they do. Make the location feel unique by capturing the things that make it ‘homey.’ Focus on a single element and make it pretty!
Post-Production: HAVAH services
alternatively: (check out: 6 BEST MOBILE APPS FOR REAL ESTATE PHOTO EDITING)